✨ New Arrivals Just Dropped!Explore
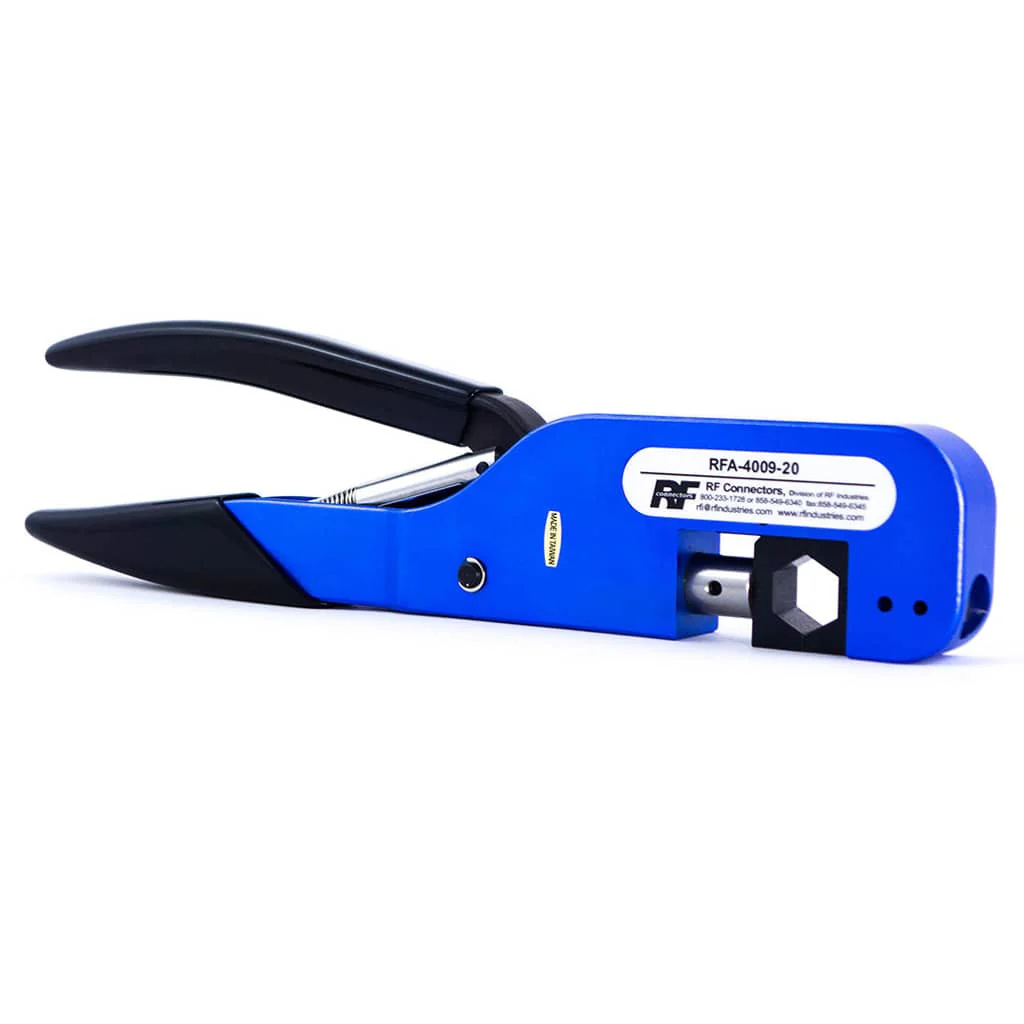
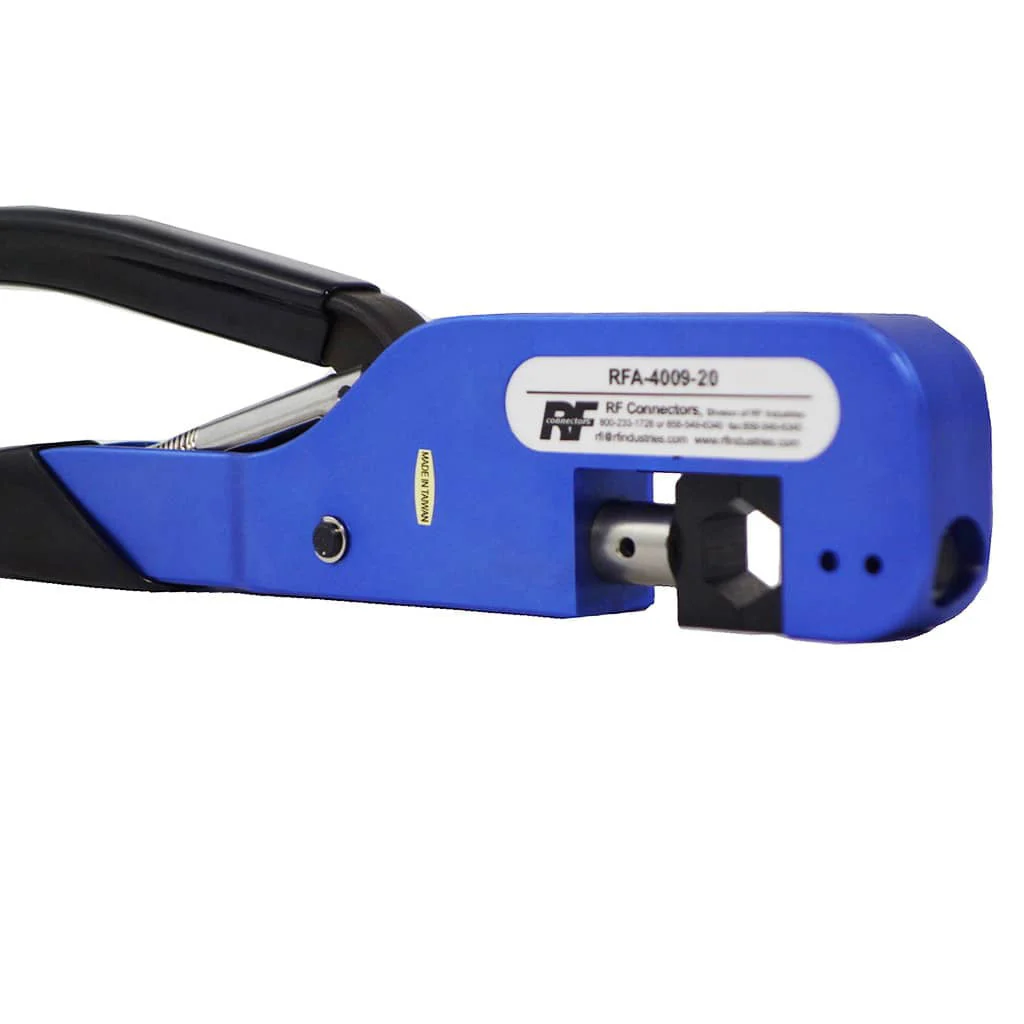
CommScope - 1/2" Automated Prep Tool (CPT-12U)
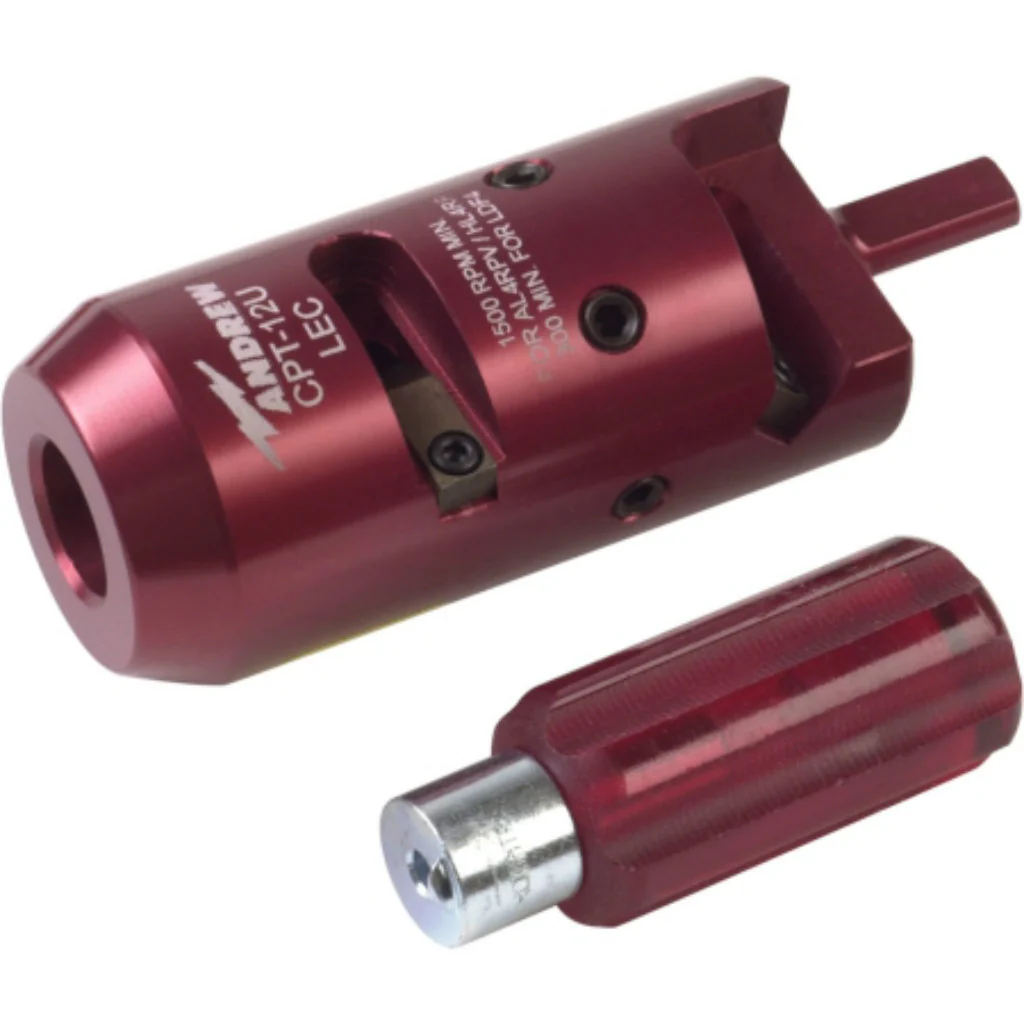
The CommScope EASIAX Plus CPT-12U Automated Cable Preparation Tool prepares 1/2" coaxial cable for connector attachment.
The CPT-12U is made of aluminum. Two cutting blades and one jacket blade are included. The lifetime of the cutting blade is approximately 150 cable preparations.
How to Use
- Hacksaw the end of the cable off at 90°.
- Place the CPT-12U Automated Prep Tool at the end of the cable and prep the cable.
- Remove the remaining dielectric materical with a sharp blade, being careful not to score the inner conductor of the cable.
- Install the O-ring gasket 1.5mm from the cable jacketing. If the gasket is not pre-lubricated, apply a thin layer of silicon grease.
- Install the back nut of the connector by pushing forward with a slight rotation. Make sure the gasket is not pushed back behind the connector.
- Take the front nut, hold the back nut stationary, and attach.
- Tighten the connector to the appropriate torque spec with a torque wrench.
$126.00
Original: $360.00
-65%CommScope - 1/2" Automated Prep Tool (CPT-12U)—
$360.00
$126.00Product Information
Product Information
Shipping & Returns
Shipping & Returns
Description
The CommScope EASIAX Plus CPT-12U Automated Cable Preparation Tool prepares 1/2" coaxial cable for connector attachment.
The CPT-12U is made of aluminum. Two cutting blades and one jacket blade are included. The lifetime of the cutting blade is approximately 150 cable preparations.
How to Use
- Hacksaw the end of the cable off at 90°.
- Place the CPT-12U Automated Prep Tool at the end of the cable and prep the cable.
- Remove the remaining dielectric materical with a sharp blade, being careful not to score the inner conductor of the cable.
- Install the O-ring gasket 1.5mm from the cable jacketing. If the gasket is not pre-lubricated, apply a thin layer of silicon grease.
- Install the back nut of the connector by pushing forward with a slight rotation. Make sure the gasket is not pushed back behind the connector.
- Take the front nut, hold the back nut stationary, and attach.
- Tighten the connector to the appropriate torque spec with a torque wrench.